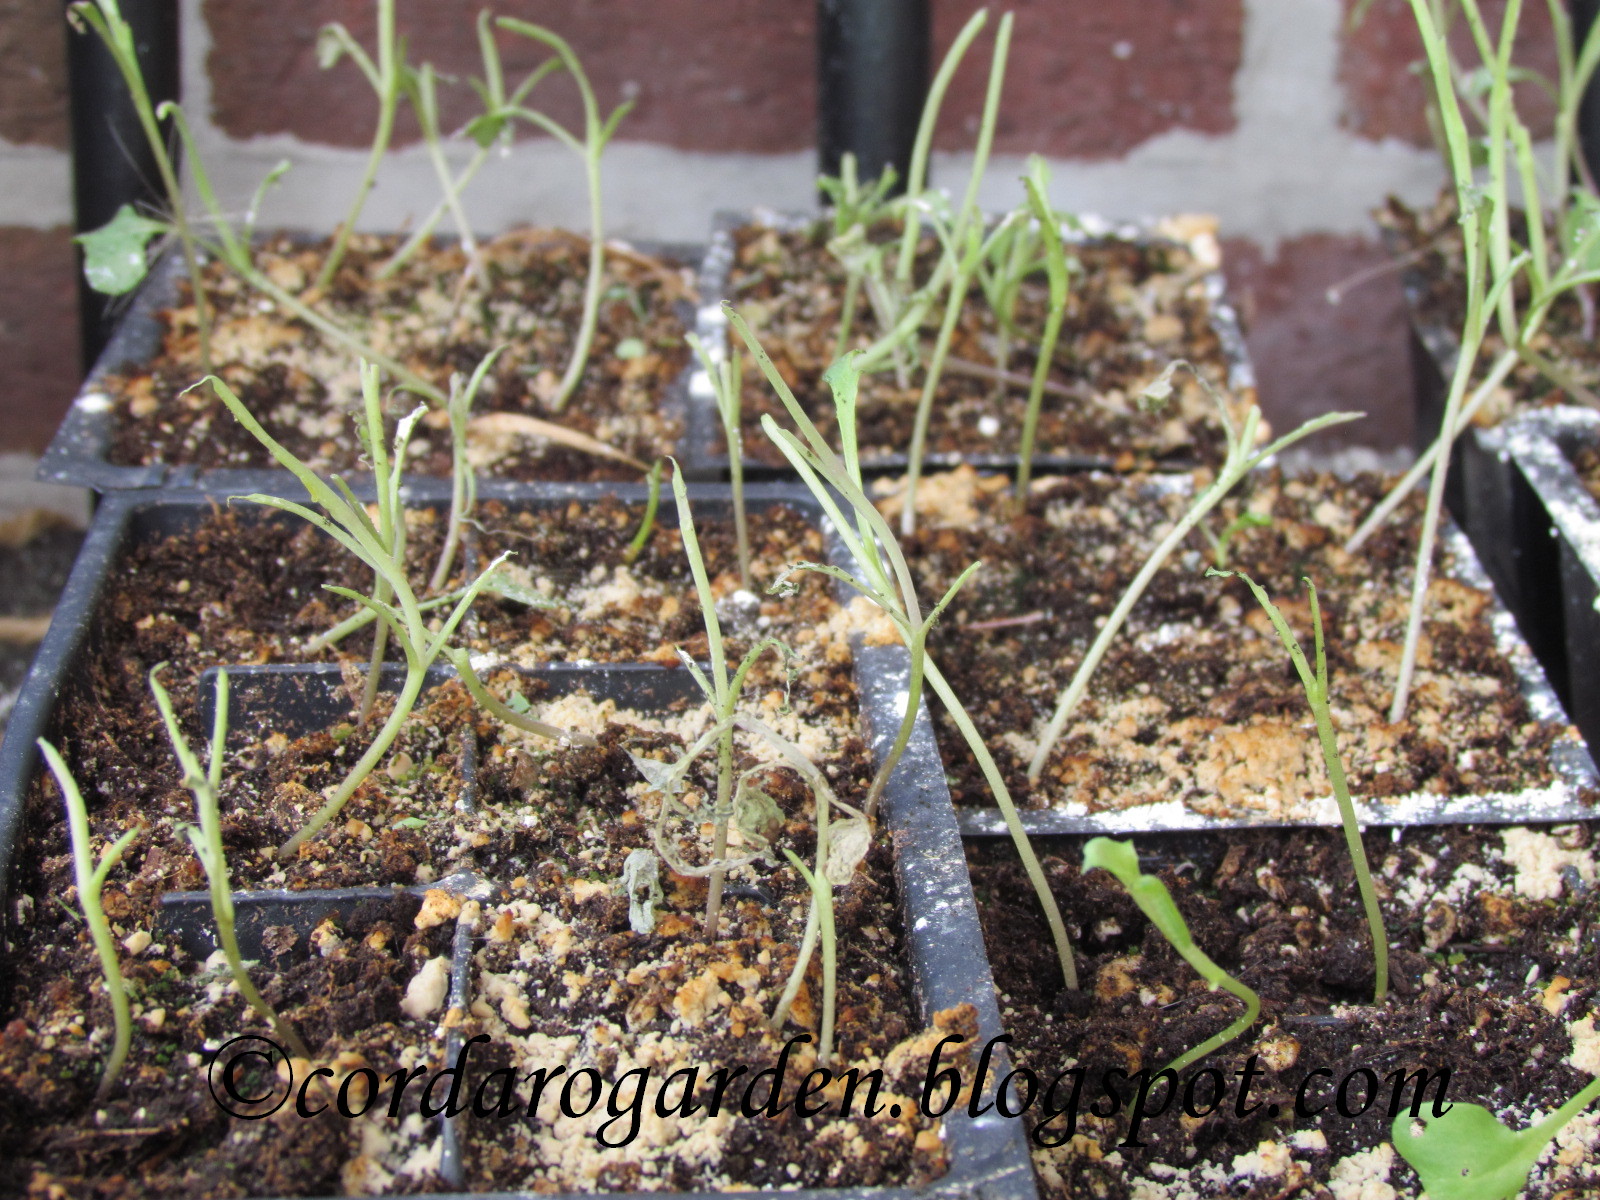
Showing posts with label Germinating. Show all posts

Monday, March 11, 2013

Garden Update......busy, busy, busy!!!

Spring is just around the corner! We were blessed with two nice warm days over the weekend. Do you believe it was 62 on Saturday and the mid 50's on Sunday?? So....I went over to the plots to get some work done. This is the best weather for doing this type of work.

I took down 4 of the 5 trellises and laid them on the beds where they will be this year. I forgot the drill-driver both days. So, I couldn't move the last one. I also turned over about half of one of the big beds. I am pleased to report that there are lots of worms!!!

I turned over the one end of this bed where the broccoli will be planted. The garlic is at the other end of this bed.
  
I removed most of the straw from the garlic bed.
 
The bed in the middle was also turned over. This is where I will plant some cauliflower. The two end beds is where the asparagus is planted. No signs of grow yet.
 
As you can see (click on any picture to enlarge), the top of the soil is quite dry for this time of the year.

The raspberries were pruned. I totally forgot to cut them back in the late fall!

I added some additional bunny protection to the fencing. It was too low and we had a bunny living in the garden last year. I managed to get about half of the perimeter finished. Hopefully I will be able to finish it next weekend.
  
There is one full table of starts in the basement. I am in the process of pre-sprouting the peppers and eggplant. By the end of the week, there will be another table going!
 
The greens and lettuce and doing well and......
 
I think it's time to thin the celery!
 
How's your garden prepping coming along???

Sunday, February 17, 2013

Starting Early Crops, the Winter Garden & Seed Starting/Planting Schedule

Today I finally got some of my early crops started! I was planning on starting some crops last weekend. However, cleaning up the basement and fixing my one germinating table took more time than I expected.

Since last year was my first time trying to use soil blocks......and I didn't do all that well with them. I decided to start my first plantings in containers. I am however planning to start my Broccoli, Cabbage & Cauliflower in soil blocks.

 I started Collards, Arugula, Tatsoi, Pak Choi, Baby Choi, 4 varieties of Kale and 6 varieties of Lettuce. All of these will be planted out in the empty cold frames very early.

These pretty and colorful tomato cages are the only thing in the cold frames right now. "The Italian" got them for me for my Birthday in December. I think they are really cool! He had them all lined up in a path from where I park my car to the back door and then a special present in the last one!
 
I didn't get around to planting the cold frames this past fall. Life got hectic and truthfully I think it was best for the soil. Last year I had slugs all winter and lots of bugs all season due to the mild winter we had. Maybe a good freeze will help things out a bit. That's my excuse reason and I'm sticking to it!
 
The overwintered spinach (the only way I can grow it) is doing well. The plants are very close right now. I will space them out once the weather permits.
 
There are some burned leaves. But, we will have happy Spinach this Spring!
 
I also started two varieties of Leeks, Caratan & Large American Flag. Large American Flag is new variety for me. I received the seeds from Seeds of the Month Club and am happy to try a new variety. I wanted to try another variety.....so, we shall see how they do.
 
The Celery was also sown today. This year I sowed my tried and true variety, Golden Self Blanching. I also started another new variety from Seeds of the Month Club, Utah. I'm really excited to see how the Utah celery does. Let's just hope we don't have more celery than last year!
 
Also sown were some Herbs; Rosemary, Basil (for inside), Winter Savory, Summer Savory, Cumin & Lemon Grass.
 
 
 My seed starting & planting schedule for this year is as follows:
 
February 23/24 - Start Broccoli & Cabbage
March 9/10 - Start Cauliflower, Eggplants & Peppers
March 16/17 - Peas Outside
March 30/31 - Start Tomatoes
March 30-Mid April - Potatoes, Onions, Carrots, maybe Beets & Greens Outside, weather permitting
April Mid-Late - Broccoli Outside
April -Late to May-Early - Cauliflower Outside
May Early - Start Squash & Melons
May-Early to Mid - Tomatoes Outside
May-Late - Peppers & Eggplants Outside
May-Late to Early June - Direct sow, Beans, Cucumbers, Squash, Popcorn and any other warm crops that I forgot!
 
I'm sure this will change a bit, as it always does. But, that's the plan for now! How are you making out with your garden planning for this year???

Saturday, July 21, 2012

Starts are Finished

I guess that I really should have taken a closer look at my fall starts. I uncovered them today to find sticks. They were covered with little cabbage worms.

This is what is left of my Fall Broccoli & Cauliflower!

I do have about a dozen starts that Jose from the community garden gave me. That is not nearly enough though. I'm going to start some more starts today. This time I am going to cover them and keep them covered!! I'm not sure if it's too late. But, I'm going to give it a try. I can always purchase some too. The worst thing that can happen is I will have too many.

Wednesday, July 18, 2012

The Home Garden Mid-July

The Home Garden is starting to look much better the past couple of days since our nice rain on Sunday evening. It's still not up to par...but, all in all it is doing surprisingly well.

This is the Left Cold Frame Bed
It is filled mostly with dry beans now. There are a couple of Celery plants hiding in the back and some bare spots in the front. I'm going to sow some lettuce in the empty spaces soon.

This is the Right Cold Frame Bed
I pulled almost all of the Spring Carrots from this bed on Monday. There are still a few tiny ones left around the edges. There is also some huge Lacinto Kale in this bed still going strong.

This Kale was planted out last September!

This is Bed #1
There are a couple of cabbages left in this bed. I sure wish they would head up so I can harvest them. I sowed some Little Marvel Peas in this bed a couple of days ago. Hopefully, we will get a nice fall crop as I was not happy with my Spring Shelling Peas.

At the other end of Bed 1 there are a few Celery Plants, a couple of Dry beans and some newly planted Pepper Plants. "The Italian" brought me home 7 pepper plants last night. He got them for free and are varieties that he wants. I guess, it's better late then never for him to decide he wants a particular variety of anything besides tomatoes in the garden! Most of this bed will be sown with Spinach at the end of the season to overwinter. That's the only way I have been successful with spinach.

Bed #2 
There are 4 tomatoes planted in this bed.

3 known varieties and 1 unknown variety. There is a lot of that going on with my tomatoes this year! 

This is what is left of the carrots that were growing in between the tomatoes. Some bunny thought it was a Bunny Buffet!

The Sungold tomatoes are coming on like gangbusters! Boy, they are a wonderfully sweet tomato! Thanks Dave!

These are Paul Robeson tomatoes. Seed compliments of Jeff. These babies are huge and boy are they great tasting! Come on and get ripe already!

Bed #3
This is where most of the garlic was planted. Now there are dry beans and slicing cucumbers growing for "The Italian". 

These cucs are finally putting out a few a day. As you can see, the earlier leaves dried up and were spotted. The plants looks great now!

The Fall Broccoli, Cauliflower & Cabbage starts are undercover on the back porch. They are about 2-3 weeks old. Something was nibbling on them, so they were given a good dusting of DE and covered with a shade cloth. I hope this works.

My Dwarf Carmine Jewel Cherry Tree is growing very very well. Truthfully, I'm very surprised how much it has grown.

The Herb Garden is not looking great. It's usually overgrown and nice and green. The drought has been a bit tough on it.

The back part of the Herb Garden is very sparse too. The Spaghetti Squash are starting to take off and  

climb along the fence in both directions.

The Sage Bush is the only thing in the Herb Garden that is looking great.

We also have one some what pretty flower pot right now.
My flower pots are not nearly as nice as they have been in the past.


Wednesday, March 7, 2012

How to get Old or Hard to Germinate Seeds to Sprout

A few years ago, I had some new hot cherry pepper seeds that would not sprout. I found this tip on the internet and it works great!

  1. Boil a pot of water for at least 10 minutes to sterilize the water
  2. Cover the pot and let it cool
  3. Place the seeds in a piece of cheesecloth (I double it) and tie it at the top, making a little bag
  4. Mix 1 Cup of the sterilized water & 1/4 Cup Chlorine Bleach
  5. Swirl the seed bag around in the mixture for 10 minutes
  6. Remove the bag and swirl it in a fresh cup of sterilized water for about 1 minute to rinse
  7. Repeat the rinsing step 6 times in fresh sterilized water
This treatment will kill bacteria and fungal spores that may have contaminated the seeds. Then pre-sprout or sow your seeds as usual.

Tuesday, March 6, 2012

Pre-sprouting Seeds

I have been pre-sprouting my Tomato, Pepper, Eggplant, Cabbage. Broccoli & Cauliflower seeds for a few years now. I used to just put them in seed starting mix and wait. I have found that pre-sprouting is much more efficient, especially when you only have a couple of seeds of a particular variety. It also eliminates the thinning step.


It's very easy to do. Just take a damp (not wet) piece of paper towel, put the seeds on it (wrapping or folding the paper towel over them) and either place it in an unsealed plastic bag or small plastic container. Don't forget to mark the bag or container with the variety of seed! Then place the seeds in a warm spot, about 70 degrees is good. I put mine on top of the radiator covers. The seeds will sprout in a few days. You need to check them at least once a day to make sure they aren't dried out.


Once the seeds are sprouted, carefully put them in a soil less mixture in a pot. You need to handle them gently to insure you don't damage the root. I use a pair of tweezers and gently grab them by the root. I usually take a piece of paper towel with the root. 


Gently place the little sproutling in the soil.


Cover with the soil less mixture. 
If the sproutling is big enough, I leave a little green sticking out.


Then I mark the pot and cover with some plastic wrap. They are then placed on the germinating table under the lights in the basement. Once the little sproutlings get big enough, I uncover them.

Tuesday, February 28, 2012

What's Growing on at the end of February

The sun is shining and spring is just around the corner! Well, almost.....we are supposed to get a wintery mix tomorrow. 

There are some seedlings growing in the basement. 

These are the first soil blocks that I planted.
I am finding that there is a learning curve to growing in the soil blocks. I am sure I will master it sooner or later.

I did a little experiment and sowed the same seeds in these soil blocks as I did in the containers below.

As you can see, the containers are doing much better then the blocks right now.

The carrots that I planted in the big container in the basement.
They are coming along nicely. I had to re-sow some of them because I ripped the seedlings out when I removed the burlap. This time I put little pieces of cardboard over the seed mats instead of the burlap.

This is the Left Cold Frame. 
The Kale and Collards are really taking off. There is a celery plant in the back and it made it through the winter. This should give us some early celery.

This is the Right Cold Frame. 
The Kale in the back is doing well and the rest of this Tatsoi will be harvested on Friday after the weather calms down. There are also a couple of celery plants in here too. I think that I am going to remove the cold frame tops this Saturday. There are aphids in the left cold frame and I need to get them under control.

The over-wintered spinach is doing well. 
I have been harvesting a little here and there. I will probably throw some more seeds in this bed soon. That is the only way I can get spinach to grow. Just throw a bunch of seeds on the ground and forget about them!

The Music garlic is peaking through the straw at the other end of the bed where the spinach is planted. It's not easy to see in this picture though.

The balance of the garlic is Silverskin and is planted in another bed which is heavily protected from the squirrels. This variety is growing much faster.

That's what's growing on around here! What's growing on around your place???

Wednesday, January 25, 2012

Trying to get a Head Start on some Carrots

Since we are now carrot less in this house. I thought that I would bring one of my big plastic pots that I grow carrots in from outside. I brought it to the basement to thaw out first. Then I added some composted manure, vermiculite, peat and some composted soil that I managed to chip off the top of one of the beds out back. I went outside a couple of times after the sun was shining on the soil for several hours (before the snow) and did manage to get enough for the pot.


After I added everything to the pot, I added more water. It was a bit too much so then I let it dry out for a couple of days. After drying out, the soil temperature was a bit too cold for germination. So I took one of the many rope lights we have and wrapped it around the pot. The next day the soil was warm enough for germination. 


Next I put some seed mats that I had made (Granny's famous seed mat tutorial can be found here) on the soil, covered them with some vermiculite and burlap. Now I have to remember to keep them moist in order for them to germinate.


Since the basement is quite cool, I think that I am going to leave the lights on for awhile

Once they start growing, I will move them to the table in the tool area of the basement and lower one of the shop lights to give them light. I'll keep you updated on how this experiment works out.


Are there any other crazy gardeners out there trying something new to get a jump start on the garden this year???

Friday, January 20, 2012

The first Soil Blocks & Blogger Issues Update

For all of my fellow blogger buddies, I still can't comment on many of your blogs. Things were better for a short period of time yesterday. I was able to post a comment over at Veggie Pack's blog. Then things went bad again. I even tried using one of our newer computers. Hopefully, this issue will be resolved soon.


Update: I just discovered a way around the Blogger comment issue. I logged onto the internet in Google Chrome and everything works fine!

Now let's talk about some gardening! I finally got around to trying the new soil block maker that "The Italian" bought me for my birthday. I ended up purchasing a soil mixture on-line for my initial blocks. There are a few reasons for this decision. One, the garden centers around here are only open on the weekends right now and most likely won't have what I need in stock to make the blocks. Two, I wanted to see what the consistency of the mixture should be. Lastly, the cost of purchasing all of the ingredients would far out weigh the cost of buying a pre-made mixture for the small amount of initial blocks being made. I am however planning to purchase all of the ingredients for the big planting as this will be the most cost effective way to make a lot of blocks.

The blocks were extremely easy to make. I just combined the mixture with some water, let it sit and made the blocks. For any of you who are going to start making soil blocks this year, you can go here or to Johnny's site to read and watch some good videos on making the blocks.

This isn't the best picture...but, I didn't feel like uncovering them and taking more pics.

After I made them, they were covered with plastic and another tray. I will check on them periodicly to see if they need water. Once they germinate, I will remove the tray to allow light in.

I really think that the blocks will save me a lot of time and space. I really hate everything involved in using plastic pots.

I will do updates and things progress. Now, get making those soil blocks!